Curb appeal is key to a home’s value, both real and perceived, because a house’s exterior is the first thing visitors and potential buyers see. Most people begin to form impressions about a home before they even walk through the front door.
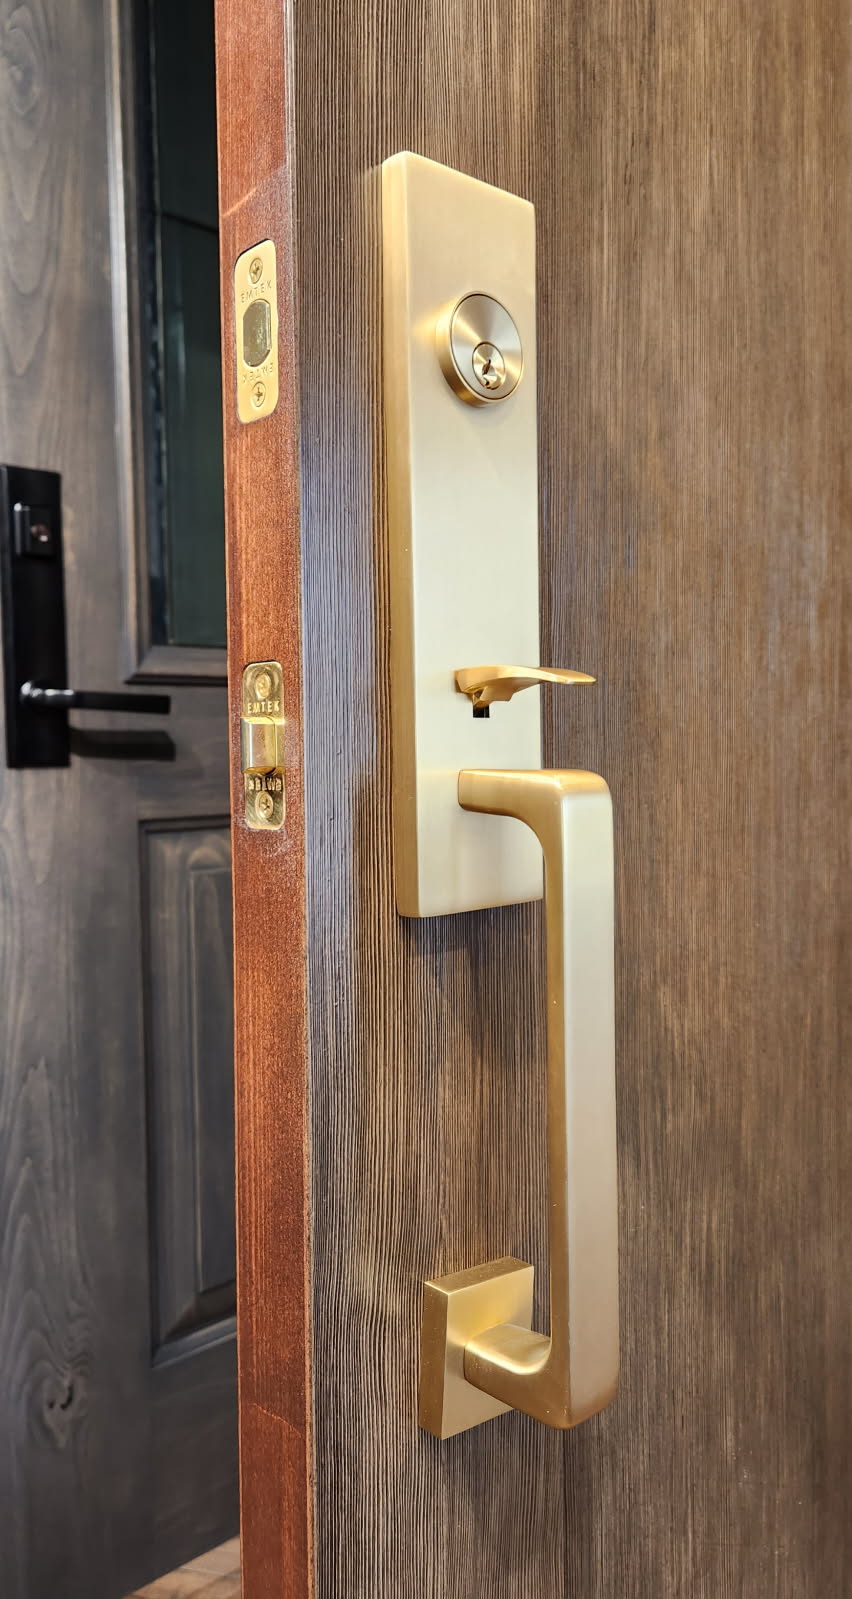
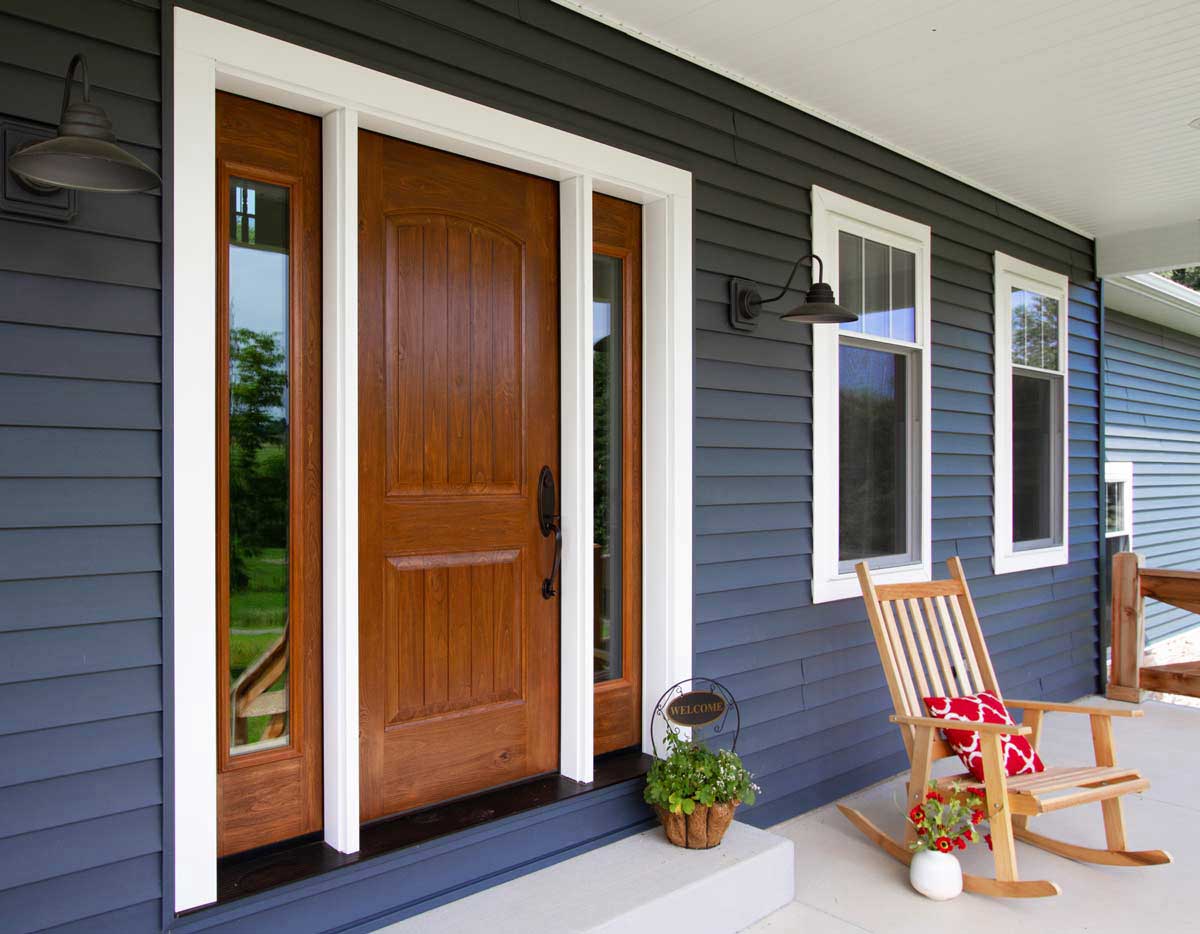
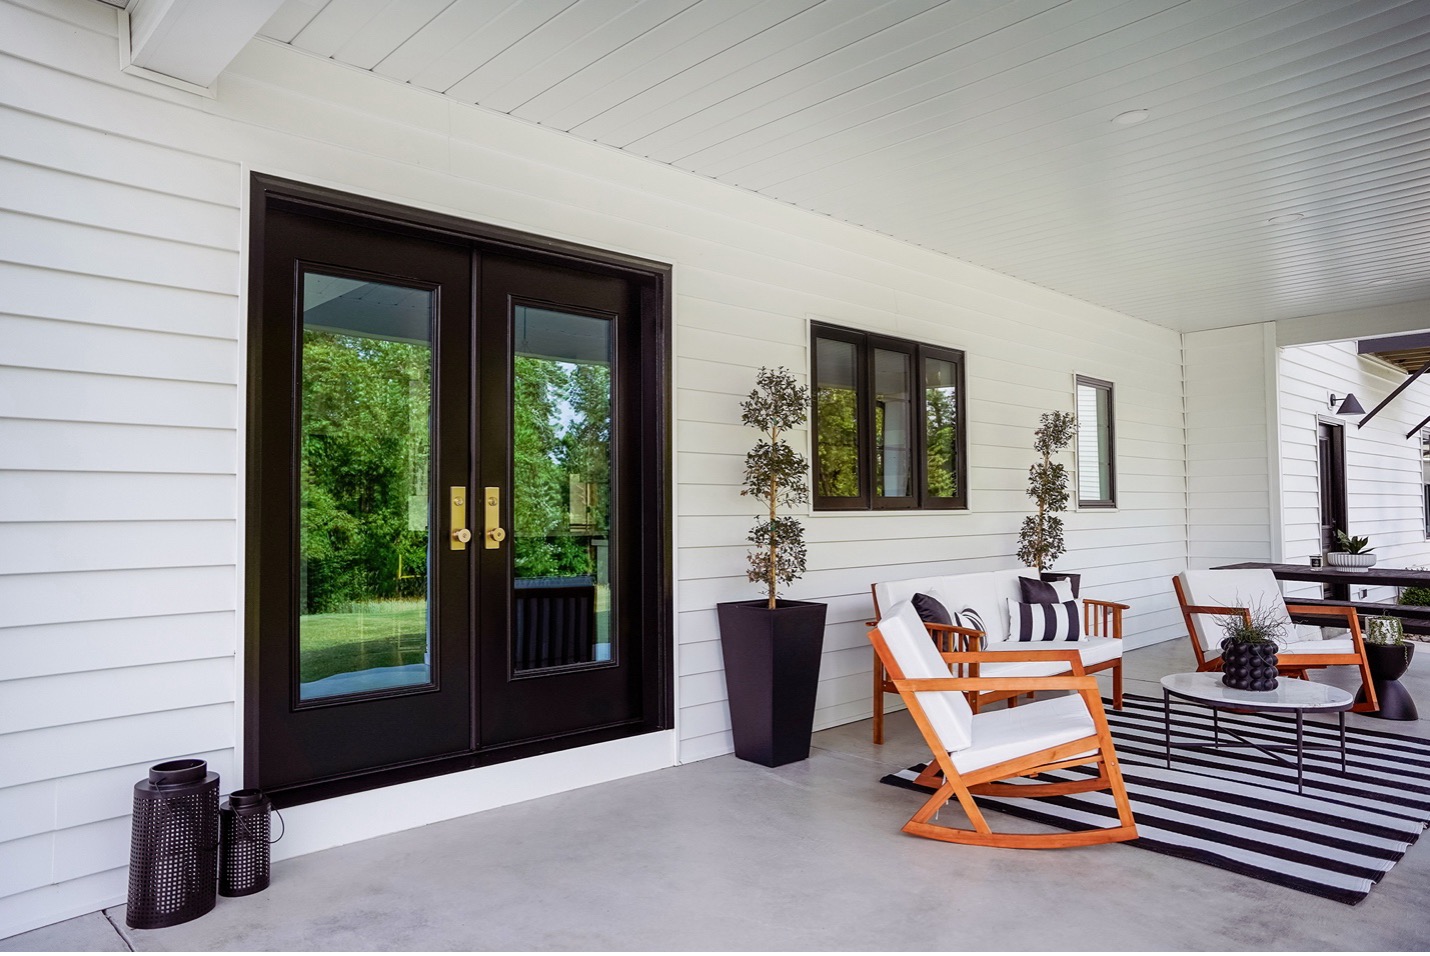
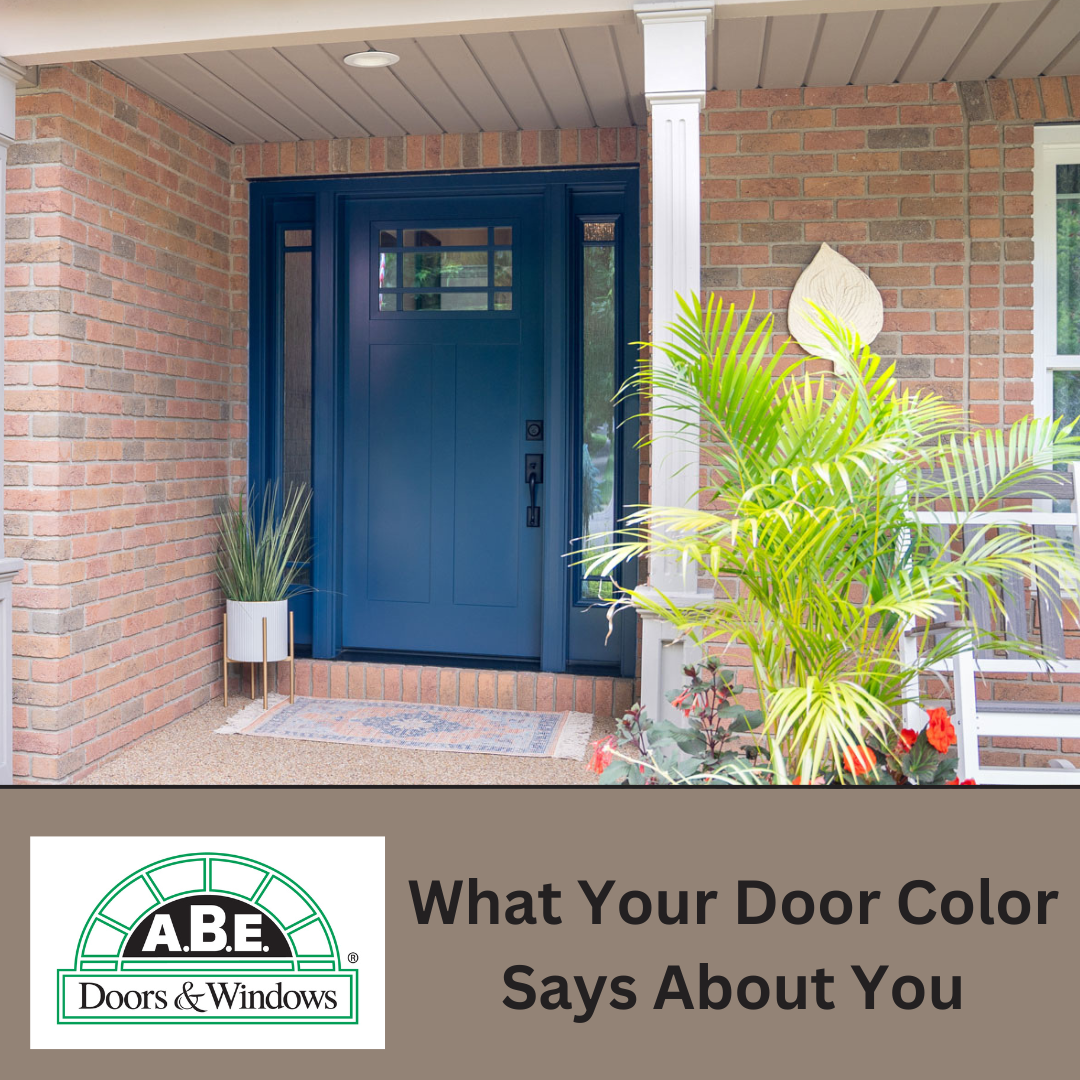
Exterior features like entry doors and garage doors register with prospective buyers. Clean, well-maintained doors that complement a home’s color palette and architectural style can contribute to a favorable opinion that grows more positive as visitors enter a well-staged home.
On the flip side, weathered or ill-fitting exterior doors can be an instant turnoff. A recent survey found that more than 46 percent of home buyers said a shabby exterior is the biggest repellent when appraising homes. A Realtor® Magazine study indicated that homes with strong curb appeal sold for an average of 7 percent more than comparable homes with neglected exteriors.
An appealing exterior translates to a higher resale value
Installing a new garage door can significantly increase your overall home market and resale value of your property. A high-quality garage door not only improves the visual appeal of your home’s exterior but also ensures that the door complements and enhances the style of your home. Insulated garage doors have become popular for their energy efficiency, which can add value to your home by reducing energy costs. It also makes it a more appealing option for environmentally conscious buyers.
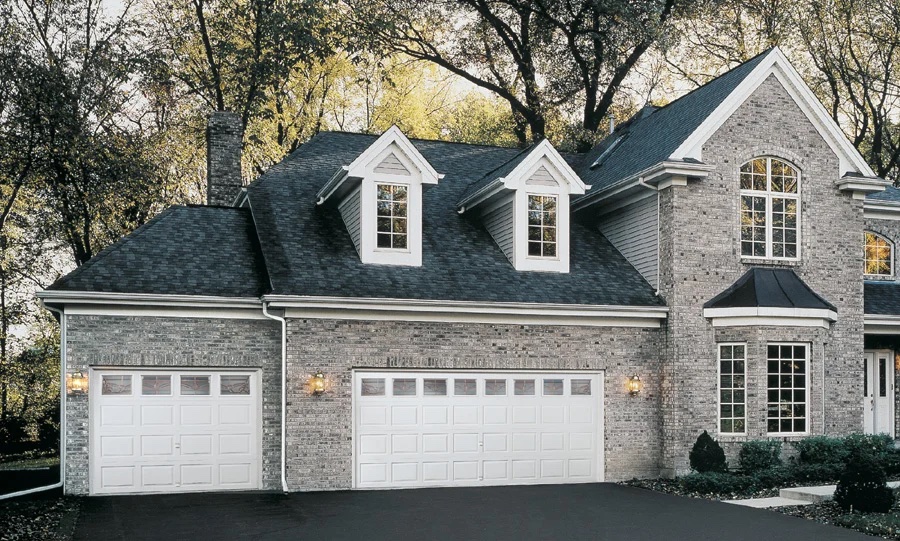
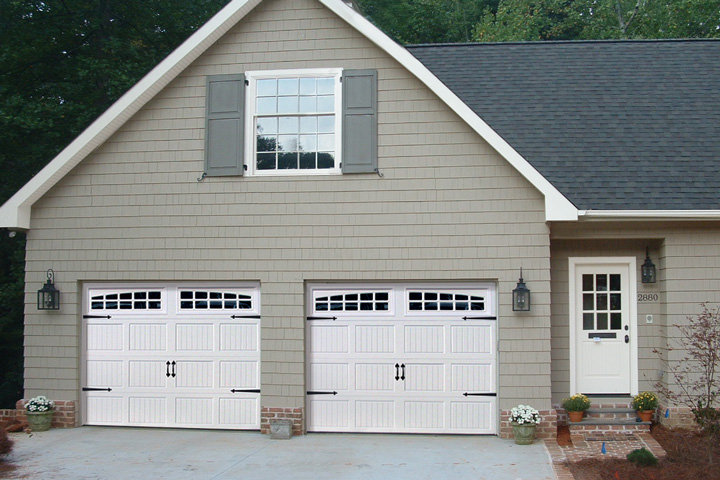
Garage doors capitalize on architectural facets
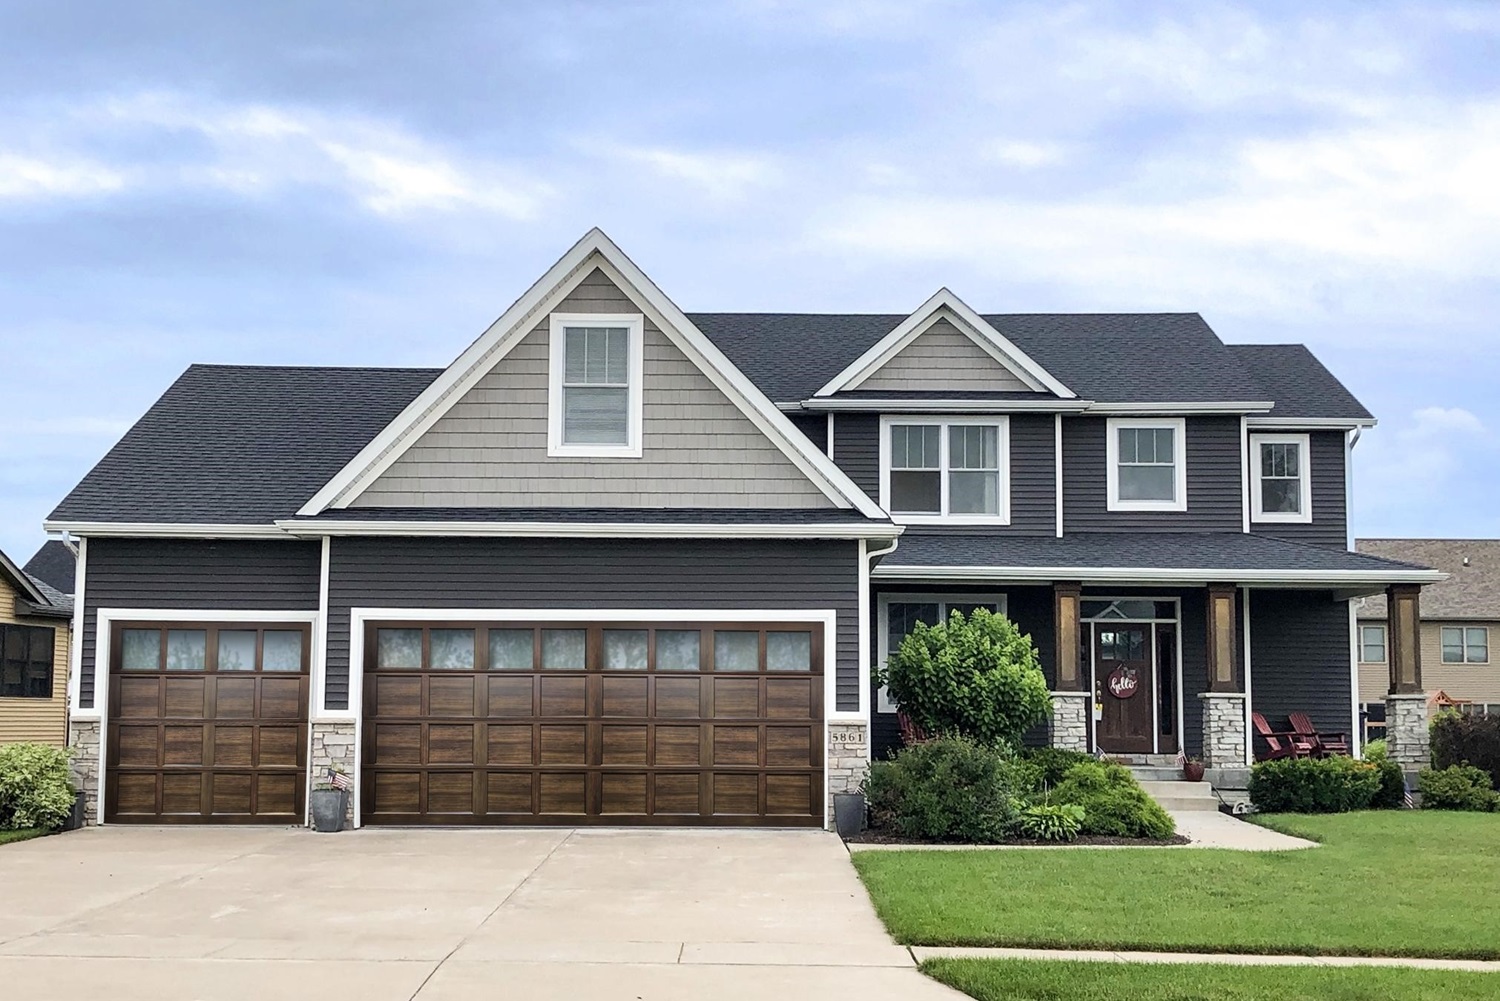
All homes are built in distinctive architectural styles. Likewise, garage doors are made in varying forms to complement the unique charms of each home. A farmhouse-style garage door with natural wood overlays may be perfectly suited for a French Country home with which it shares design details. A bold panel garage door may be ideal to accompany the clean lines of a modern home. Well-paired front doors and garage doors offer welcoming first impressions. When considering garage door styles and colors, it’s important to think about how the garage door will strengthen or contrast other external elements. For instance, does the home have exterior shutters? What color are the shutters and any exterior trim?
Upgrading your garage door adds to its functionality
Modern garage doors come with advanced features like smart garage door openers, allowing you to control the door remotely. This upgrade can increase the value of your home by making it more attractive to potential buyers who value convenience and security. Opting for custom garage solutions, such as steel garage doors, provides not only durability and security but also a sleek, modern look that can greatly enhance curb appeal. A newer garage door equipped with advanced features and stylish designs can transform the appearance of your home’s exterior. By investing in a high-quality upgrade, you ensure that the new door not only functions efficiently but also contribute to an overall increase in property value and attractiveness.
Return on investment
Investing in a new garage door is one of the most impactful home improvement projects you can undertake. A quality garage door replacement can significantly enhance the overall value of your home, making it more appealing when it comes time to sell your home. According to a Cost vs. Value Report by Remodeling Magazine, garage door replacement provides an average cost recoup of 93 percent. That’s the highest ROI among the 20-plus home renovation projects analyzed.